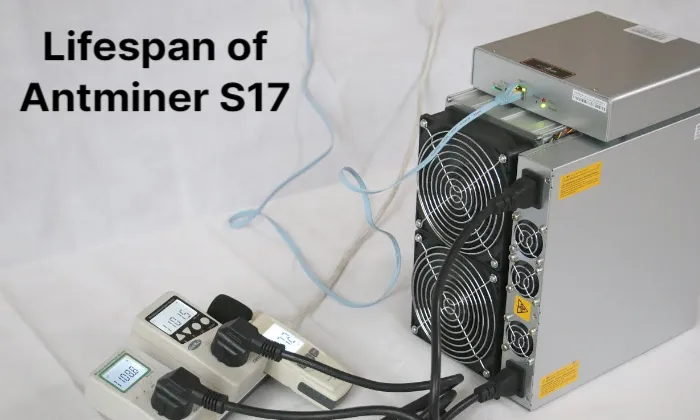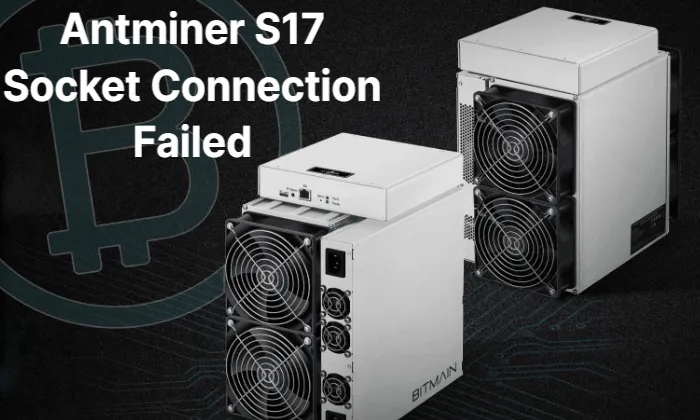
This posi will discuss the causes of Antminer S17 socket connection failures and share the way to fix it properly.
If the Antminer S17 socket connection failed is giving you trouble, you might be unsure of what to do. A common problem is a broken socket connection. Be at ease; we are here to assist. We’ll walk you through what to do if your Antminer S17 socket connection failed in this blog post, along with the steps you need to take to fix the problem.
Make sure the power supply is plugged in properly first. As well as making sure the Ethernet cable is connected correctly and the power cord is firmly inserted, Try restarting your router if the issue still exists.
If the issue still persists, it might be a hardware problem. In this situation, getting help from Bitmain support is advised. They can assist you in identifying the problem and finding a quick fix.
Table of Contents
The Causes of Socket Connection Failures
Failures in socket connections are among the most frequent problems experienced by Antminer users. This issue could have many different root causes, and without additional research, it can be challenging to pinpoint the exact cause. An incorrect power source, a bad Ethernet cable, or a loose connection are the most frequent causes of socket connection failures.
One of the most frequent causes of this problem is an insufficient power supply, which is easily fixed by examining the voltage and amperage of the power supply.
An Ethernet cable that is defective is another typical reason, which can be fixed with a new cable. And lastly, socket connection issues are frequently caused by loose connections. Your Bitmain Antminer S17 may be experiencing socket connection failures for a variety of reasons. Some of the most common causes include:
- Faulty cords or adapters
- Incorrect power supply settings
- Bad drivers or firmware
- Hardware issues
How to Fix Antminer S17 Socket Connection Failed Error
Initially, confirm that your Antminer is securely connected to your computer or power outlet. The Antminer and computer’s adapters should be firmly fastened to the cords and plugged in. The socket connection could break if the connections are even slightly loose.
Check to see if the connections are secure by restarting Antminer and your computer. Sometimes the problem can be resolved with a straightforward restart.

If that doesn’t work, your drivers or firmware may need to be updated. Visit the Bitmain website and download the most recent firmware or drivers for your Antminer. Make sure you select the right operating system and model number. Follow the installation instructions after downloading.
Contacting Bitmain support might be necessary if nothing else is working. They can provide solutions to fix the socket connection failure as well as assist you in identifying the problem.
How to Determine If Your Antminer is Properly Connected
It’s likely that you don’t give your Antminer S17 much thought if you’re like most people. However, if you mine, you should pay attention to how your machine is connected. You won’t be able to mine for Bitcoin if your Antminer isn’t operating, after all. What is the best way to determine whether your machine is connected correctly? Here are a few things to look for:
Start by inspecting the machine’s front-facing light. Green indicates that the Antminer is securely connected to the Internet. If it is red, there is a connection issue.
Following that, you must use a USB cable to link your Antminer to your computer. A green light on the front of the device should indicate that it is connected. A blinking or non-green light indicates that the device is not connected properly.
Next, you’ll need to open up your mining software and click on the “Detect Devices” button. The software will scan for any connected devices as a result. You are prepared to begin mining if your Antminer appears on the list of detected devices, indicating that it is correctly connected.
A failed socket connection is one of the most frequent problems that can arise when using an Antminer. A damaged cord or adapter could be to blame, among other things. If you are experiencing this issue, here are a few troubleshooting tips that may help you fix it:
How to Fix An Improperly Connected Antminer S17
Make sure the power supply is plugged in properly first. If it is, try unplugging and then replugging it. A different power supply can be used if that doesn’t work.
The Ethernet cable should then be properly plugged in, so double-check this. do the same thing. Try a different Ethernet cable if that doesn’t work.
If neither of those options works, your Antminer S17’s motherboard might need to be changed. For more details, get in touch with Bitmain Support.
There are a few things you can try to do to try and fix the issue if you have an Antminer S17 miner and are experiencing socket connection failures. One solution is to use a metal brush to clean the connectors on the antminer.
If none of this helps, make sure all the cables are connected correctly and that the cords are undamaged. Contact our customer service department for help if you’re still having issues.
Conclusion on Antminer S17 Socket Connection Failed
There are a few things you can try to fix the issue if your Antminer S17 socket connection failed.
Make sure the socket is connected to the power source properly first. If it is, then examine the power supply to make sure it is operating properly. Alternatively, you might want to try unplugging the socket from the power supply and then plugging it back in. If none of these fixes work, you might need to get a new socket or power supply. E
ither way, it is important to contact a qualified technician for help in order to avoid damaging your Antminer.